One of the first and most important Science lessons at the beginning of the year for me is What is a Scientist and What are Science Tools!
As my junior scientists prepare to explore all the new things that they will be learning this year, we first take a dive into what it means to be a scientist, who they are, and what tools they use to study, learn, and discover about life!
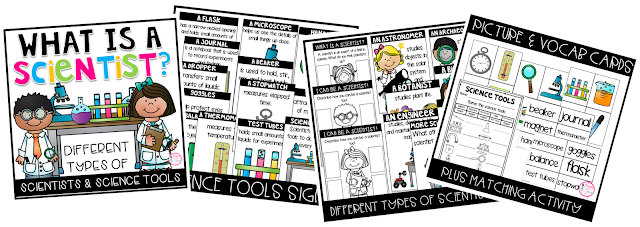
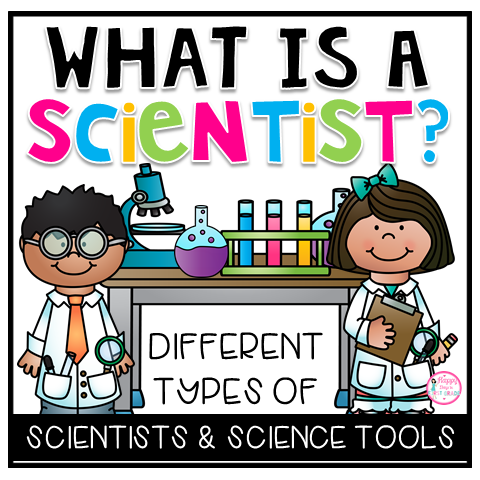
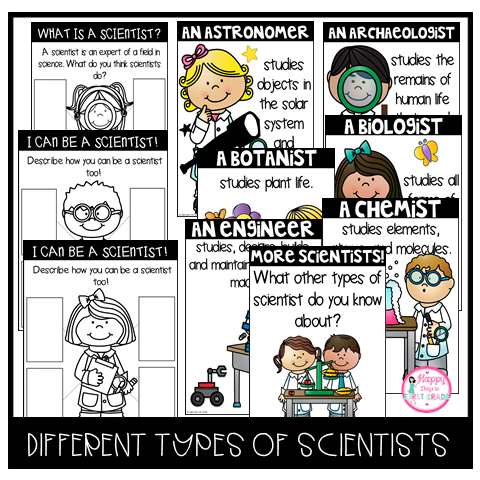
Next, I ask students to share different types of scientists that they may already know. Next, I hold up posters of each type of scientists and go over them one by one. To grab the posters, click on the image below.
When discussing science tools, I love to sit in a circle with my junior scientists and investigate closely at each tool that we will be using this year. This is a great opportunity for my students to share their background knowledge and ask questions. This is also a great chance for me to go over rules for using each tool before our exploration time.
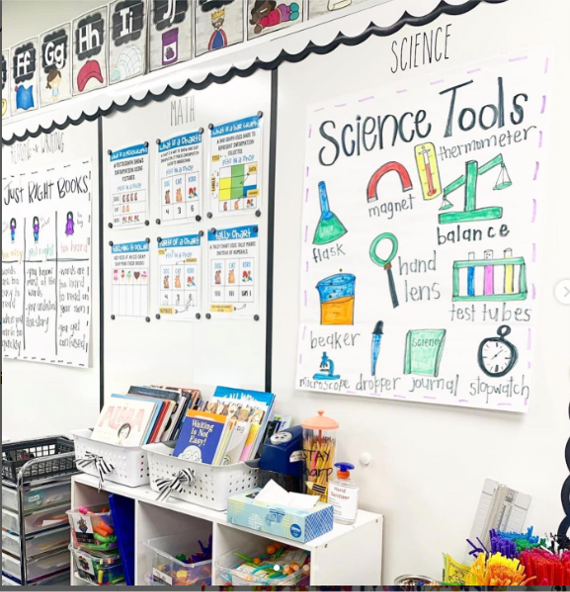
Below is an anchor chart that I created with my students to help them refer to throughout our unit.
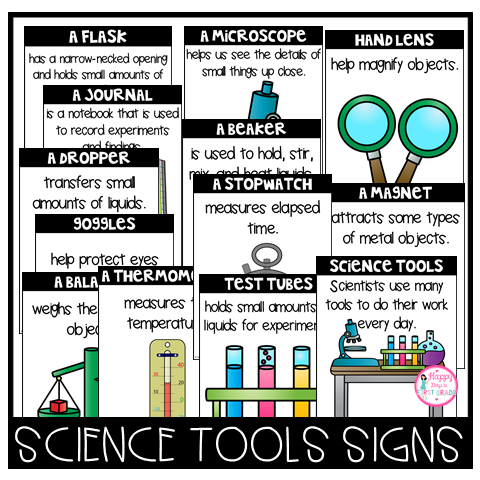
I also use these posters of science tools to be more thorough in my explanation of each tool.

After our whole-group discussion, I explain to my students that they will be rotating through five centers to explore each tool. I then introduce the centers and go over the procedure on how we would rotate after every five minutes. Once five minutes is up, I will say clean up and students will gently clean up their area and place the tools on the table. Then when I say go, students will tippy-toe to the next center clockwise. Below are the centers. To purchase the materials, click to the images.
Disclosure: The links are affiliated links, meaning that I will earn a commission if you click through the links and make a purchase.
Center 1: Testing Thermometers
Fill three three bins with luke warm water, room temperature water, and water with ice. Students will take turns placing a thermometer in each bin to see how the liquid in the thermometer changes due to the varying water temperatures.
Center 2: Picking Up Playdoh Balls with Tweezers
In this centers, students will create small balls using Playdoh. Next, students will use the tweezers to pick up each ball and place them in a bowl/cup.


Center 3: Seeing Objects Up-Close
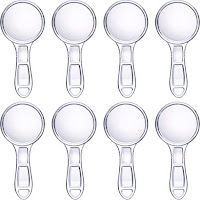
Place sand, samples of bird feathers, rocks, seashells, or anything that students can look closely at on a tray. Using hand lens and a microscope, students will take turns making observations and sharing what they see.

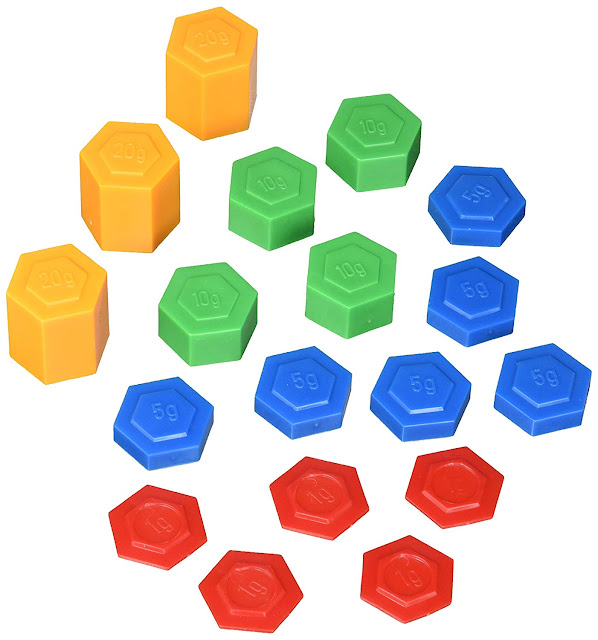
Center 4: Weighing Weights
Place two balances in a center with different weights. Students will explore weighing weights and comparing each bucket on the balance.

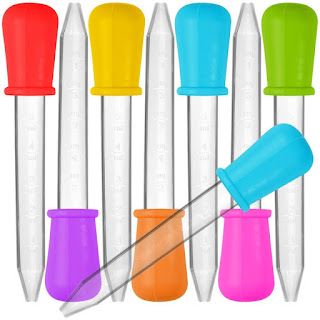
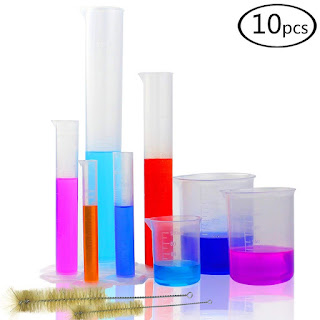
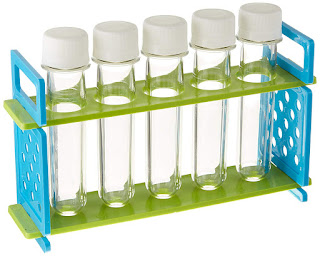
Center 5: Transferring Liquids
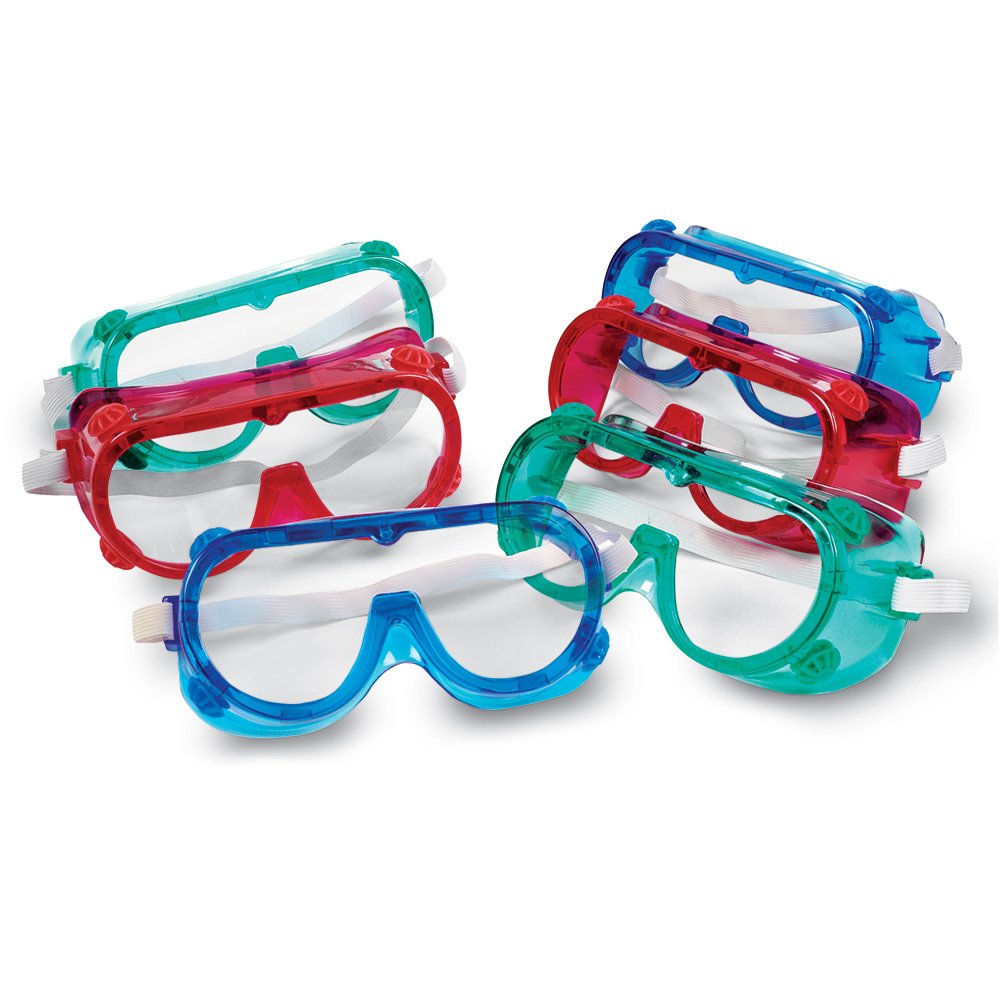
In this center, students will wear goggles as scientists do, and transfer water from a beaker using a droppers into a test tube.
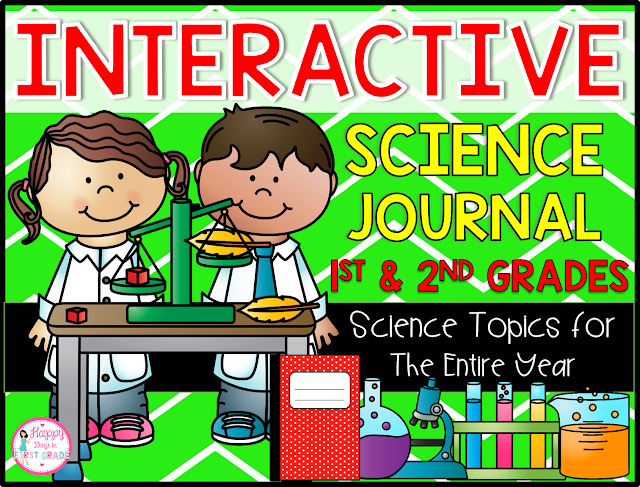
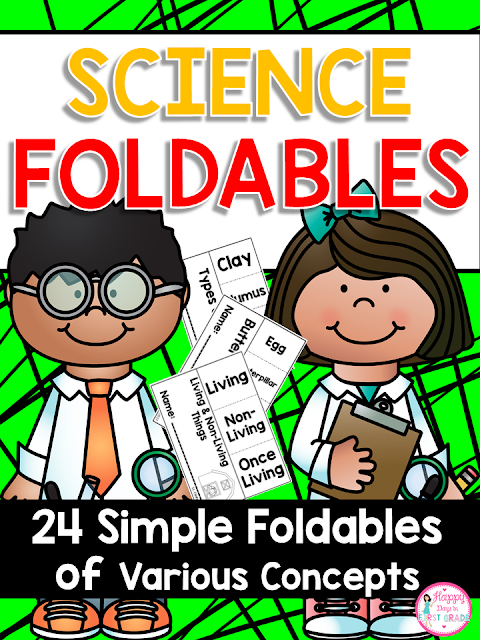
If you need additional resources, click to view my What is a Scientist and Science Tools Packet and more below!