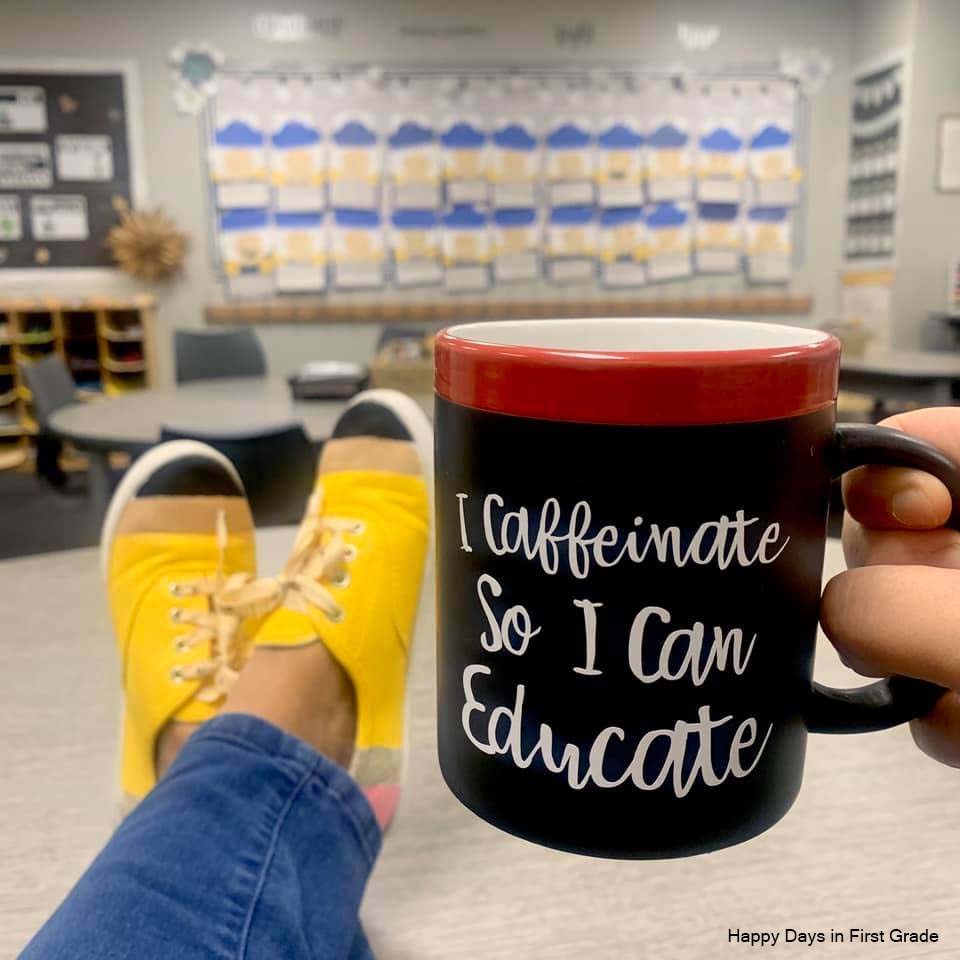
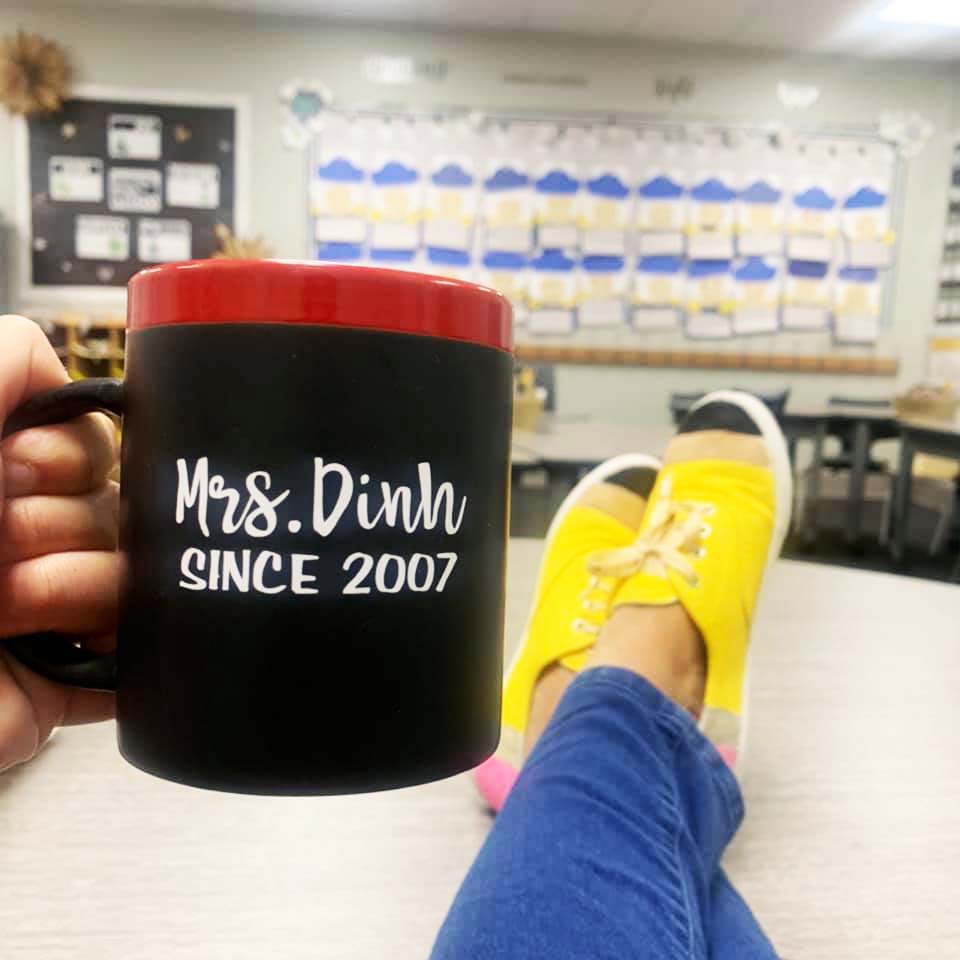
Disclaimer: This is a sponsored conversation written by me on behalf of Cricut. The opinions and text are all mine.
Hi there! If you are wanting to make your own teacher mug, then you are in the right place!
I had literally been obsessed with making my own personalized items for my classroom and home for years but felt so intimidated about using a cutting machine all by myself. I mean, what if I don’t do it right and I mess up, right?!!!
But you know what?! After having done my first teacher mug and VERY first project with Cricut, I can tell you with confidence that it’s NOT INTIMIDATING at all! And it’s actually so EASY..and YOU TOTALLY CAN DO IT TOO!
Below are 3 SUPER easy steps to help you make your own I Caffeinate so I Can Educate Teacher Mug using the Cricut Explore Air 2!

Step 1
Click to my “I Caffeinate So I Can Educate Mug” Template in Cricut Design Space then select Customize to change to your name and resize as needed.
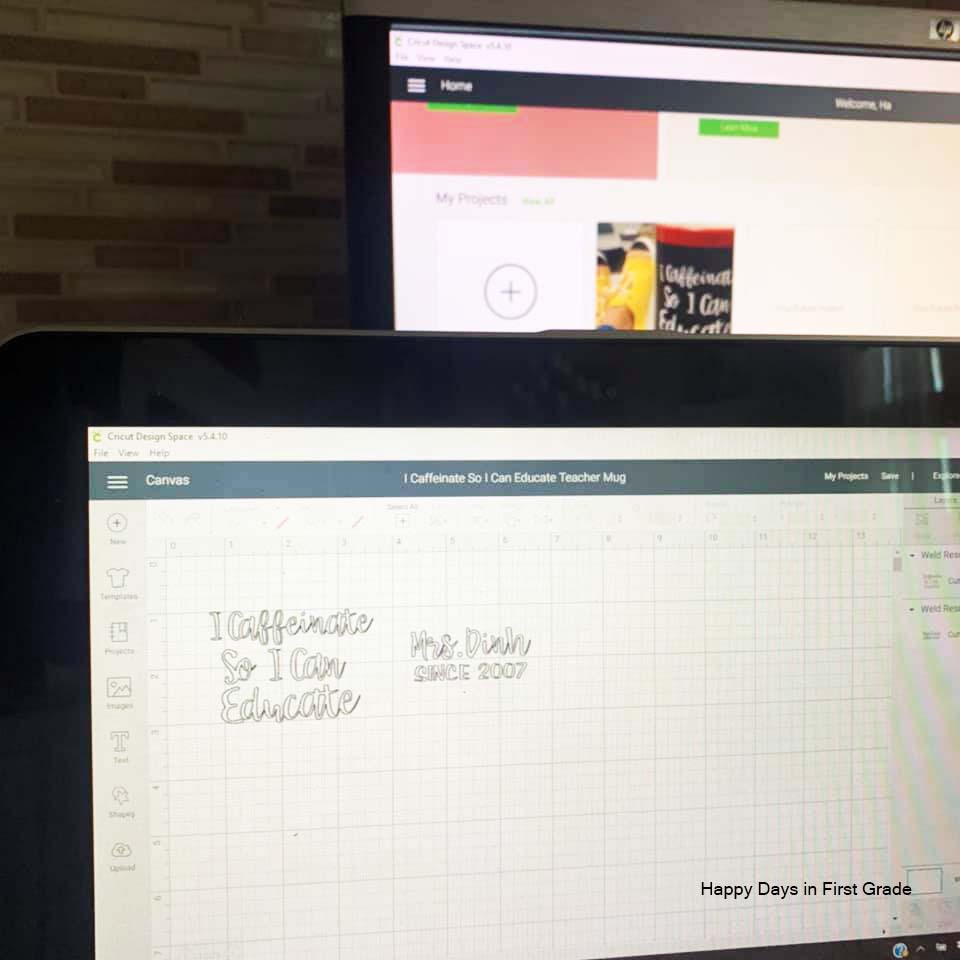
Step 2
Once you are ready to cut the white vinyl, click to Make It and follow the steps indicated on the screen. I cut my vinyl down to the size needed, then laid it down on the mat. Be sure to remove the plastic film from the mat. You will need it to be sticky to hold down the vinyl for cutting and the Cricut Scrapper Tool to make sure the vinyl is flat.
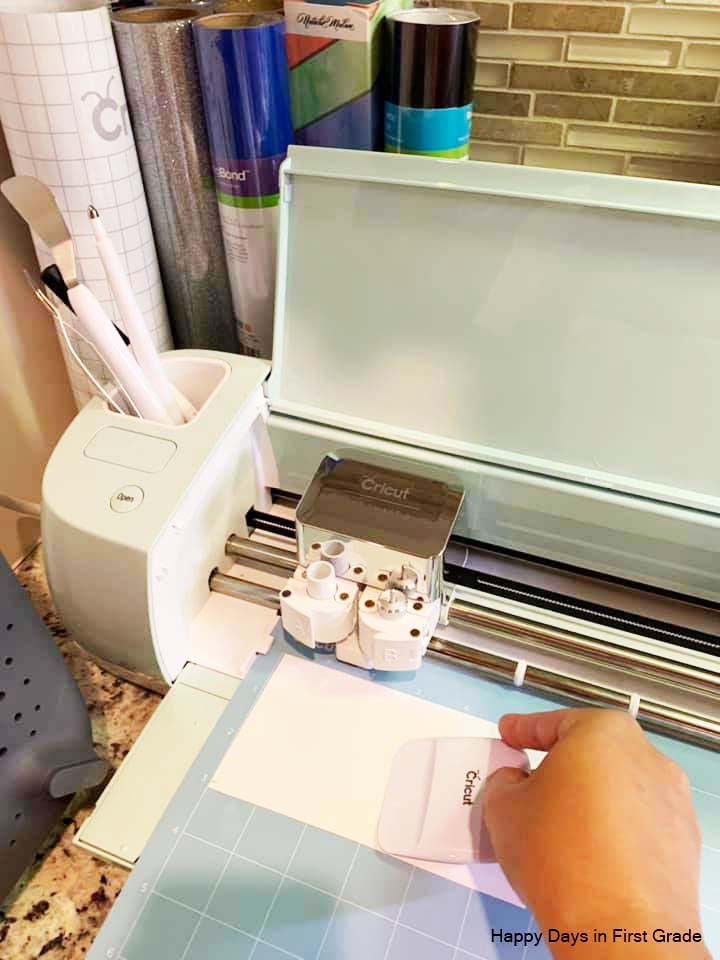
Step 3
Use the Cricut Weeder to weed off the excess vinyl. Peel and place the sticky side of a piece of transfer paper on top of the vinyl. Place the words and transfer paper onto your designated area on your mug, then use the Cricut Scrapper to make sure the vinyl sticks well to the mug.
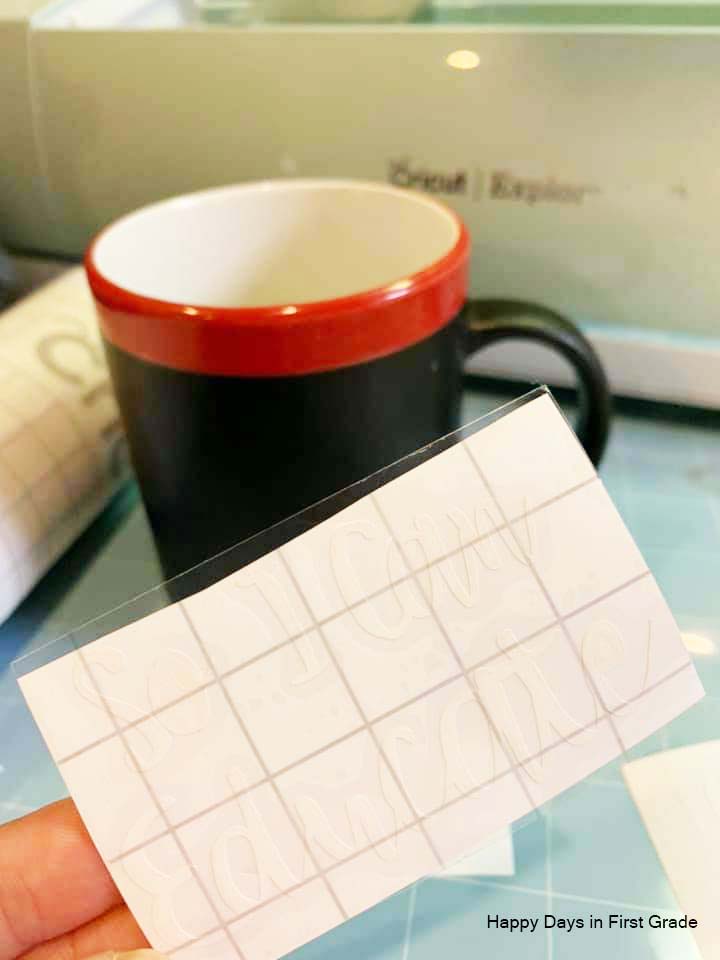
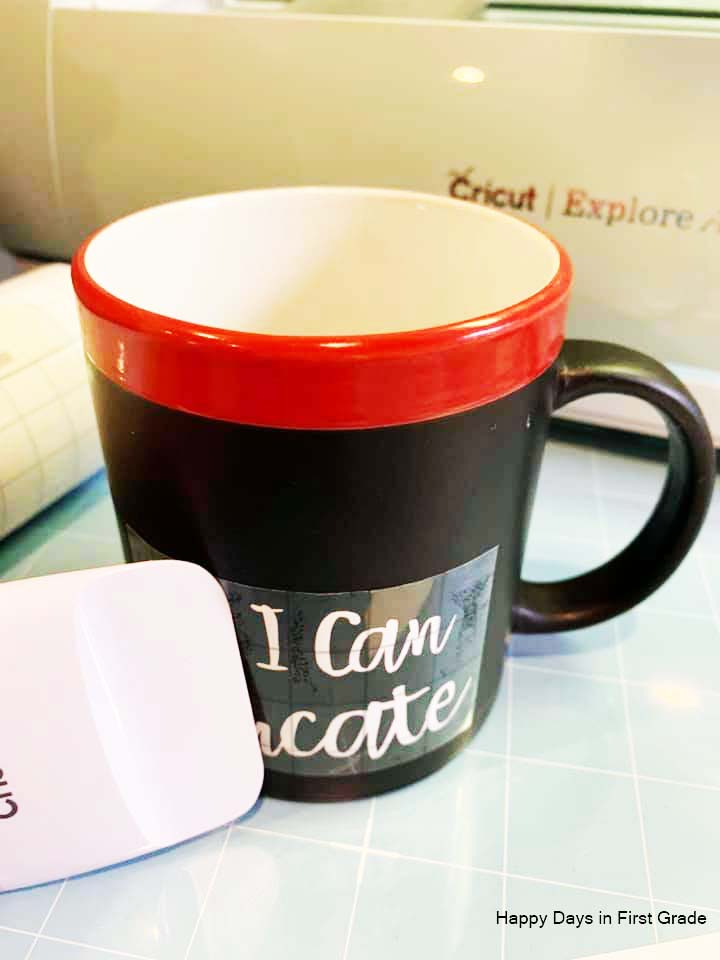
Repeat for the back side of the mug and you are done!
