This is a sponsored post written by me on behalf of Cricut. All opinions are 100% mine.
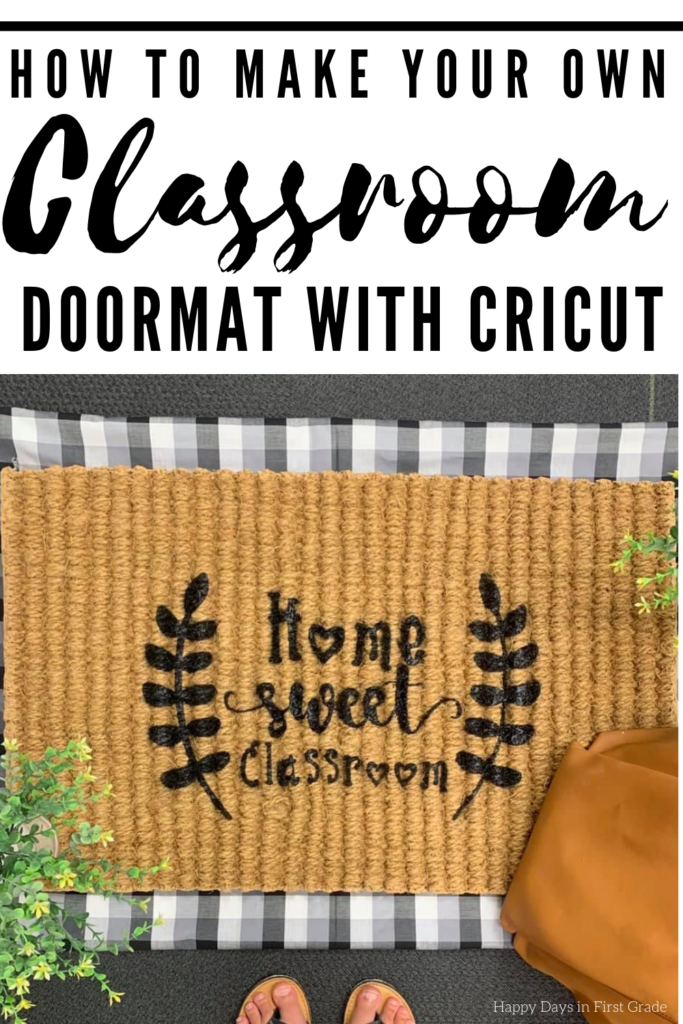
Have you ever wanted to make your own classroom mat?
If you answer yes, then you are in the right place!
And let me tell you, it was so so EASY to make one myself with my handy, dandy, and AMAZING Cricut Explore Air 2!
Follow the easy steps below to see how you can make one for your own classroom!
Step 1: gather all your supplies
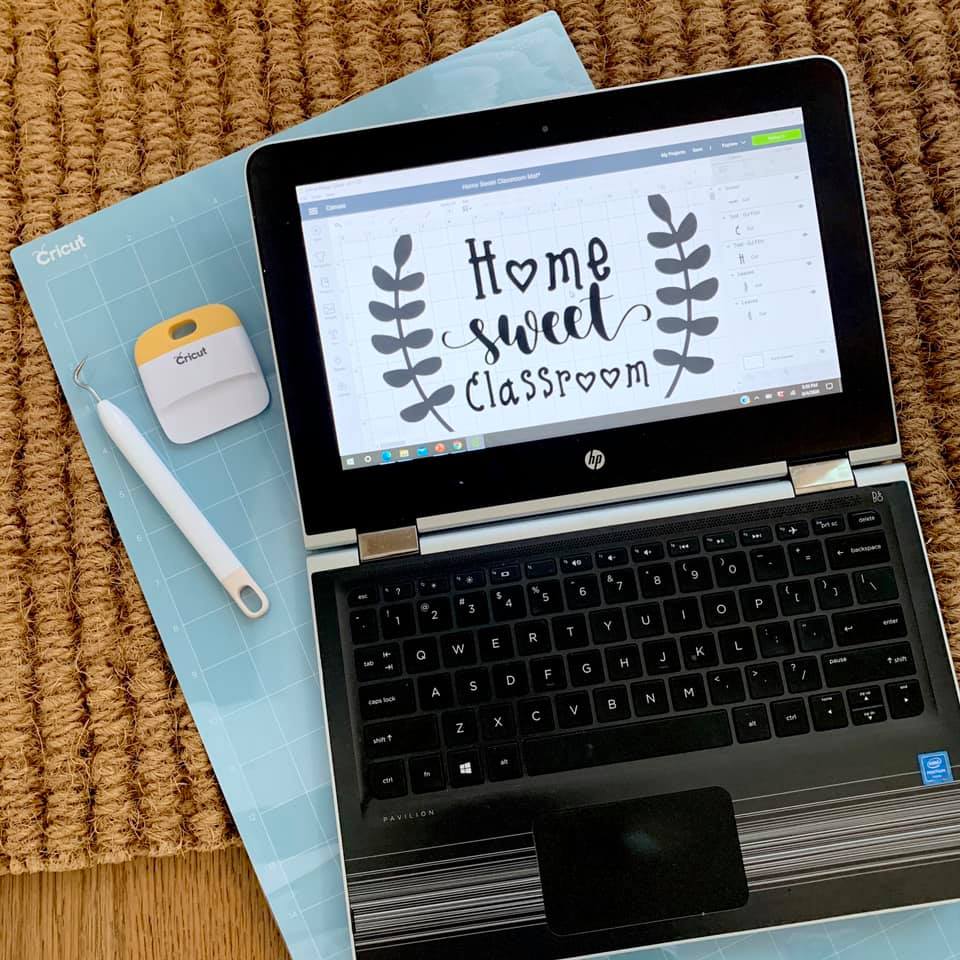
Supplies
- LightGrip Machine Mat, 12″ x 24″
- Cricut Weeder and Scraper
- Blank Coir Mat
- Black Flex Seal Spray
- Plastic Gloves
- Freezer Paper
- Design from Cricut Access
- Cricut EasyPress Mini
STEP 2: prepare the freezer paper
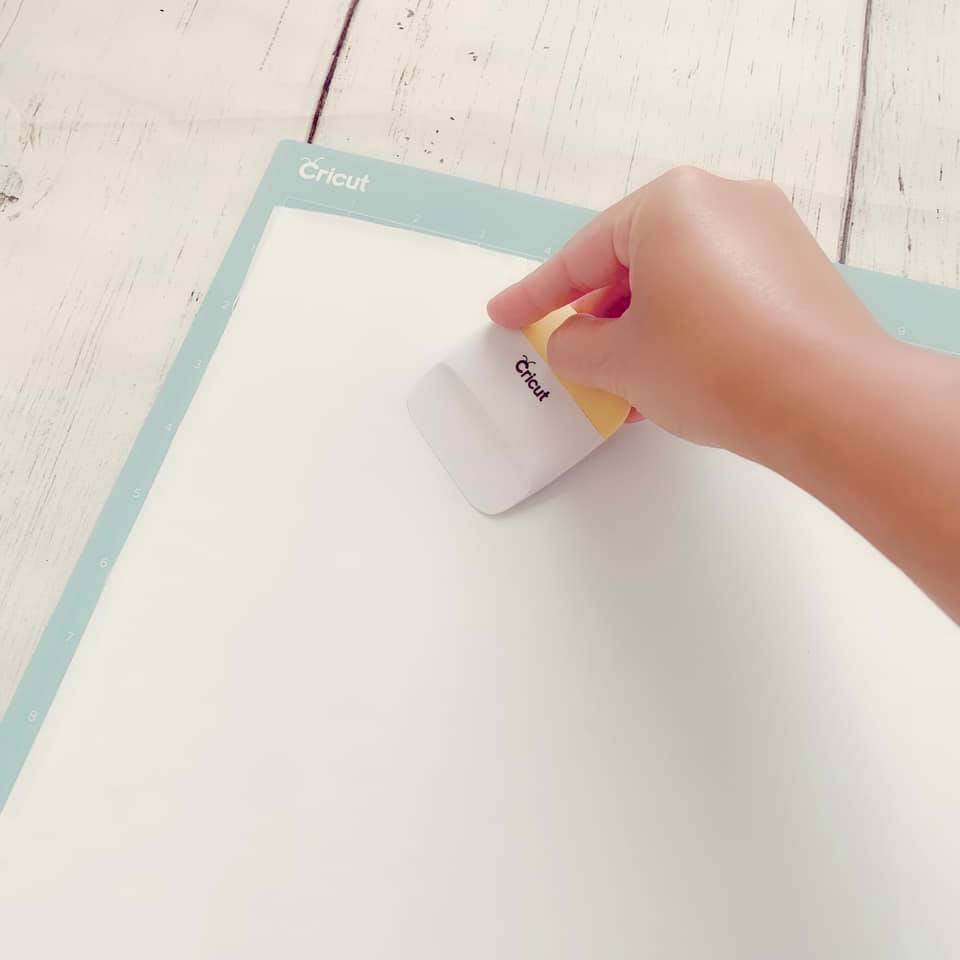
To get started, cut the freezer paper to fit on top of the mat. Next, use the Cricut Scraper to make sure that the paper lays flat and is free of bubbles.
STEP 3: Cut the Design & Weed It
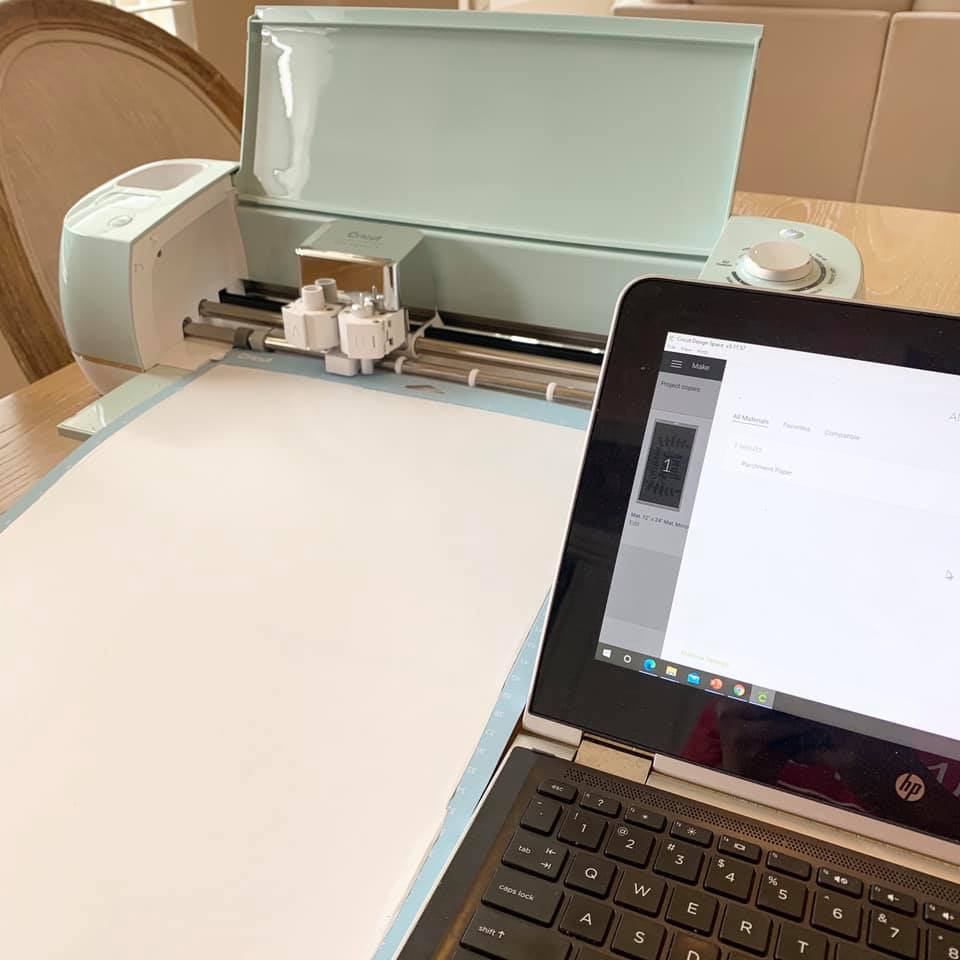
Before cutting, you can find the design in this link on Design Space. Feel free to make any adjustments in size prior to cutting.
Once you area ready, make sure that you select for the design to cut as a mirror image since we are using it as a stencil. Also, since freezer paper is not an option as a material in Design Space, choose parchment paper. That will work perfectly as well!

Once cutting is complete, gently weed out the stencil. Be very careful to avoid tearing the freezer the paper.
Step 4: gently press the freezer paper onto the mat

This part was so fun for me since the freezer paper was pretty rolled up after weeding. But once the EasyPress Mini pressed the freezer paper onto the mat, I was so excited to the design on the it as the paper was flattened! To make sure that paper stays on the mat just right, set your EasyPress Mini on medium heat.
Step 5: prep for spraying
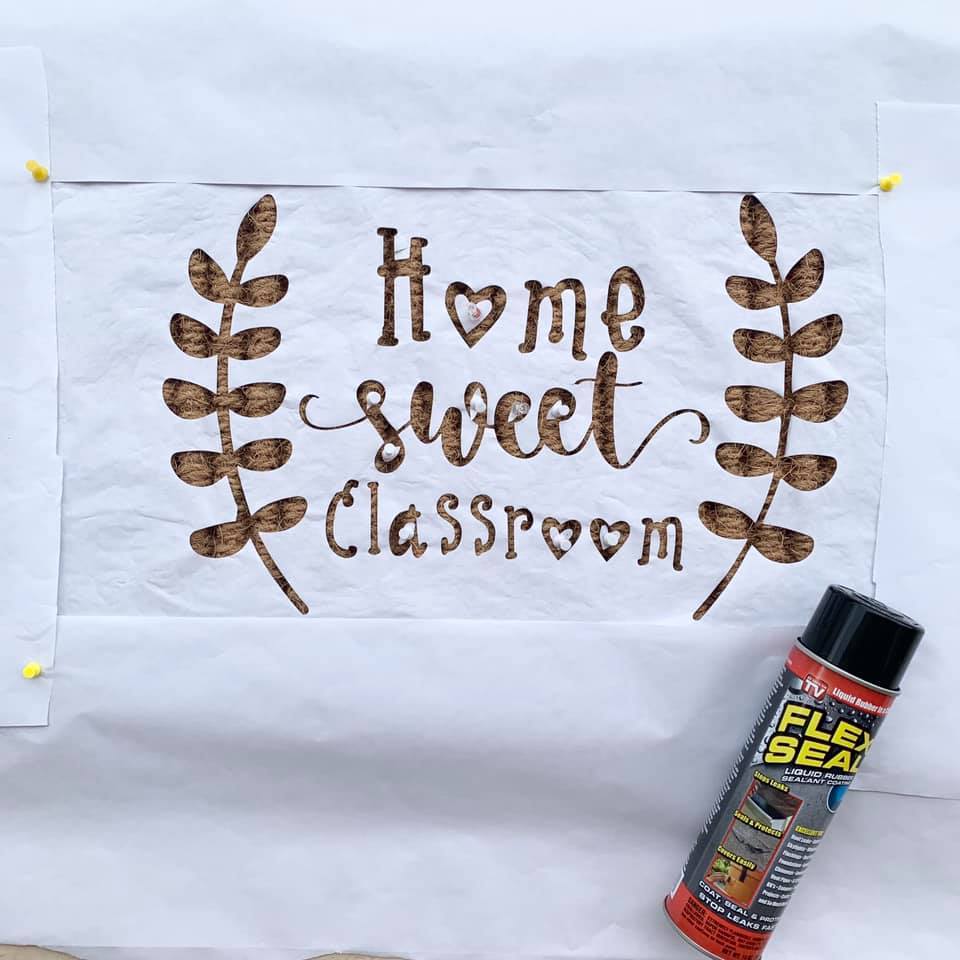
To prep for spraying, take your mat outside and lay it on concrete or any flat surface. Next, cut some more freezer paper and place it on the coir mat to prevent any of the Flex Seal getting onto it by accident. Weed out the inside of the letters from the EasyGrip mat and use thumb tacks to keep them in place on the mat.
Step 6: spray
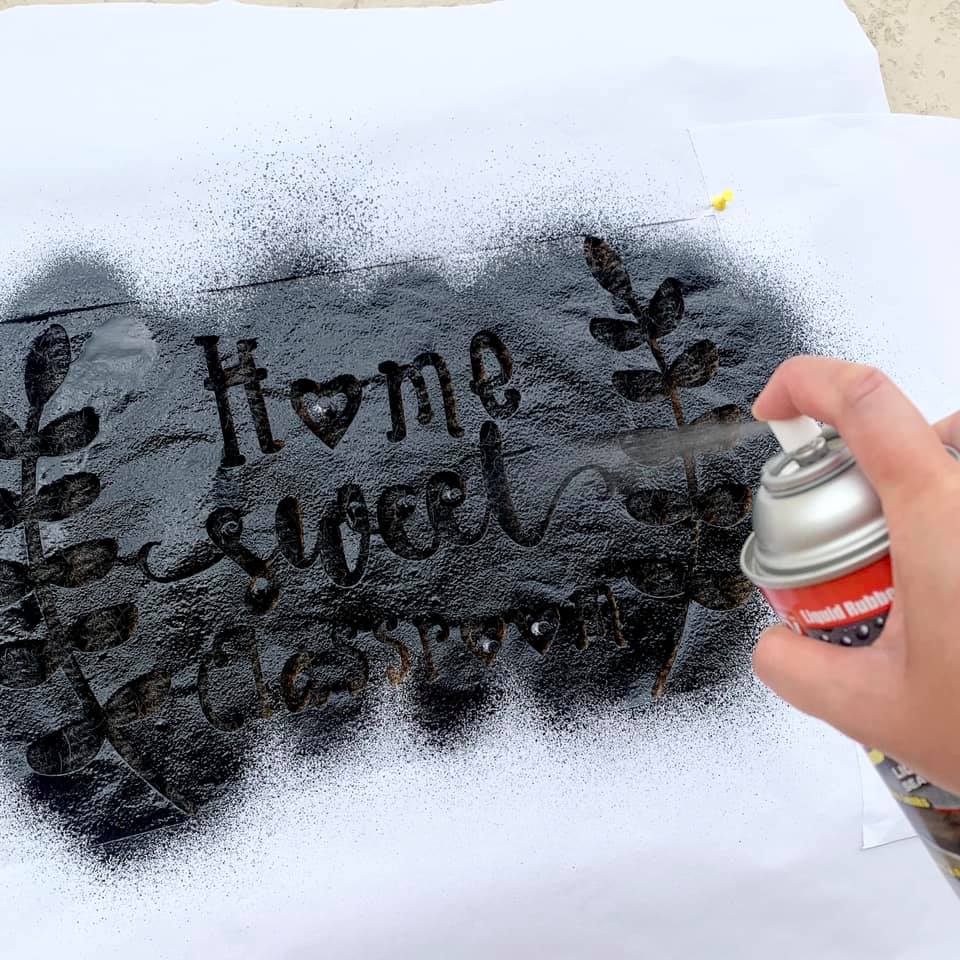
Shake up the Flex Seal then spray away. Make sure that the paint is even and not too saturated in any one area. The paint should dry within 10 minutes. After 10 minutes, use gloves to carefully remove the stencil and TAH-DAH!!!
You just made your own doormat!
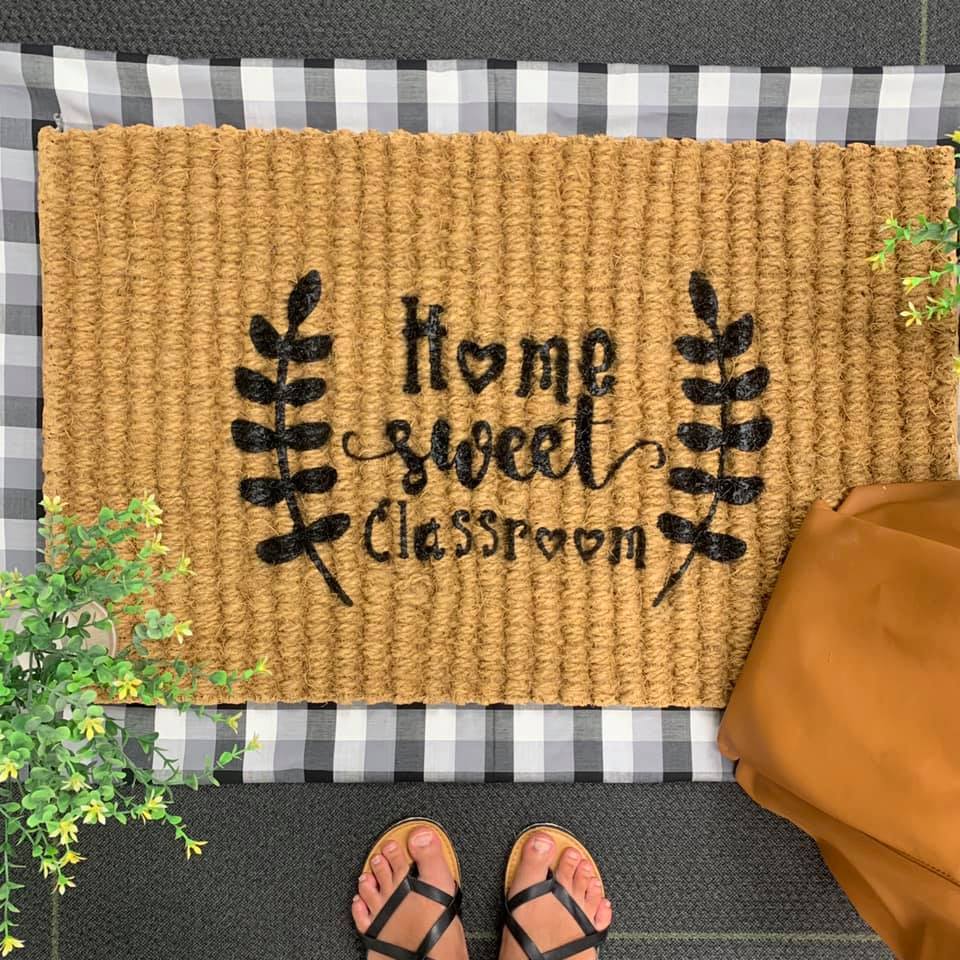
See how easy it?! So easy and so fun! Now, go and make one and get your craft on! 🙂