Disclosure: Some of the links are affiliated links, meaning that I will earn a commission if you click through the links and make a purchase.
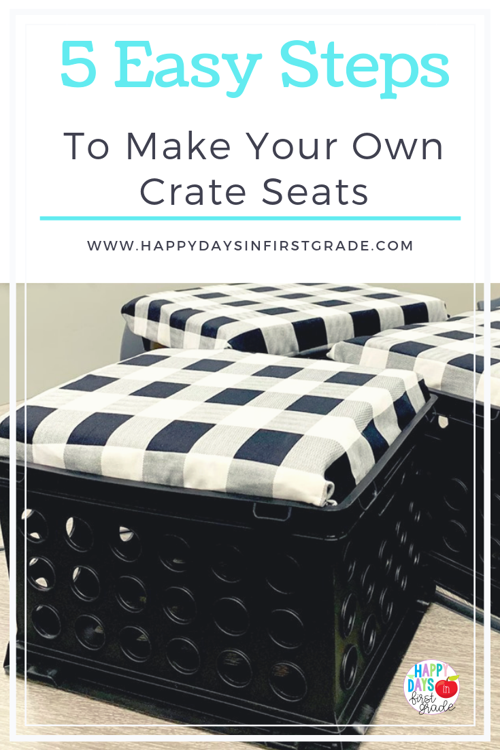
So you’ve seen teachers with crate seats in their classrooms and now you want to make your own! Well, you’re in the right place because here are 5 SUPER easy steps to make your own!
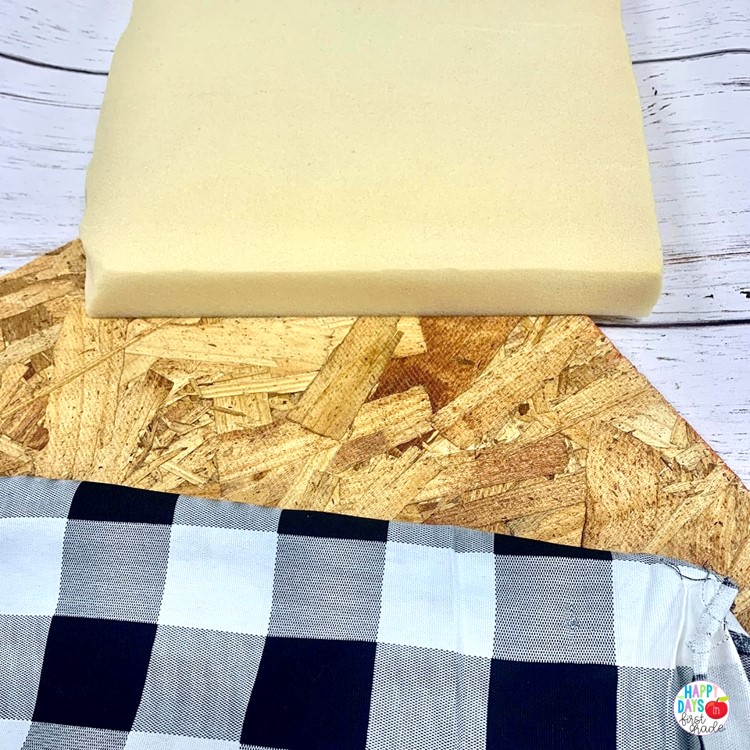
Step 1: Gather all the materials needed: foam cushion, plywood from any home improvement store, your fabric of choice and these durable Sterilite Crates! For the Gingham Black/White Plaid fabric, click here.
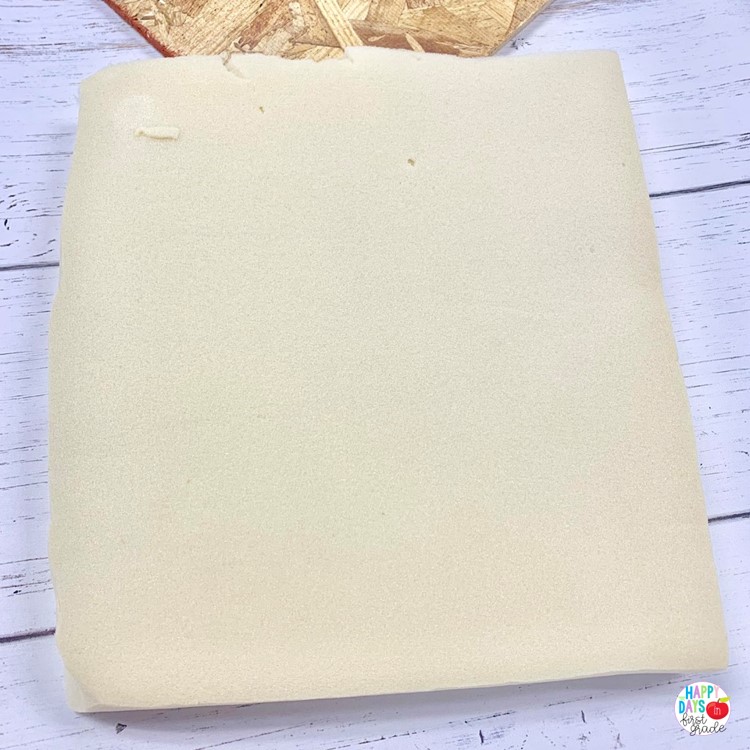
Step 2: Cut the foam to size to fit the rim of the crate. It does not have to be perfect since the plywood will be its support.
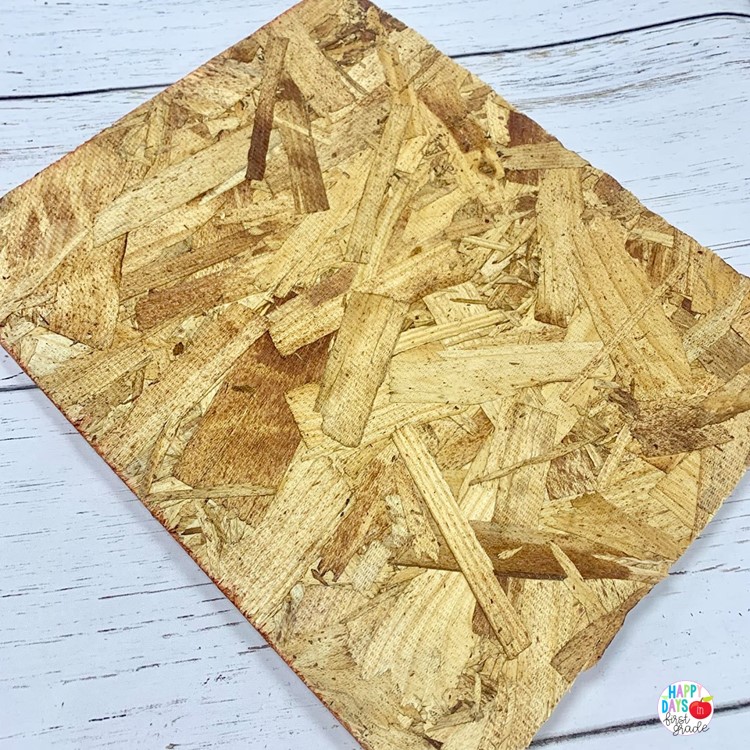
Step 3: Cut the plywood to size to fit the inside of the rim of the crate. The best way to do this is to lay a sheet of butcher paper on the rim of the inside of the crate and then press down on it to create a crease. Then take scissors and cut on the crease and you should have the right measurement for the rim!
Step 4: Stack the cushion on top of the plywood then cut the fabric to size. Wrap the fabric around both the cushion and plywood.
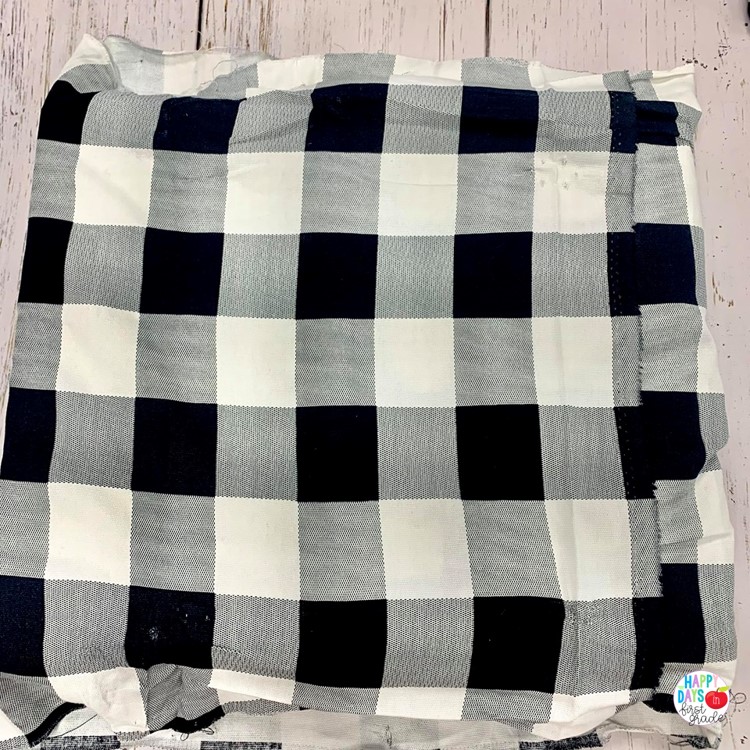
Step 5: Fold the fabric ends over to your liking and then staple the fabric onto the plywood using a staple gun. I used the Stanley Staple Gun.
Place the cushions back onto the crates and you are DONE!!!
Happy Crafting!!!!
For more decorating ideas, check out this post below!
